Master the Measure
Melbourne’s only factory-direct PRO shutters. Ready in 1-3 Weeks.
The DIY Shutters Pro measuring guide explains how to measure width, drop, depth and squareness before ordering plantation shutters. It uses millimetre-based steps so customers can submit accurate dimensions while the factory handles production clearances.
Measure Shutters in 5 Steps
- Measure the width at the top, middle and bottom.
- Measure the drop on the left, centre and right.
- Check both diagonals to confirm squareness.
- Record the smallest recess-fit size or largest face-fit size.
- Confirm frame depth, mid-rail position and panel layout before ordering.
Professional Results. DIY Prices.
Follow our simple factory-standard guide. Measure tight, and we'll handle the deductions for the perfect fit.
1 Getting Started
2 Determine Your Fit Type
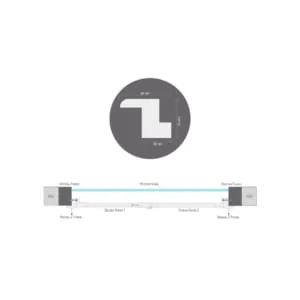
Recess Fit (Inside)
Most PopularMounts inside the window reveal for a sleek, flush finish. Use Z-Frame for out-of-square windows.
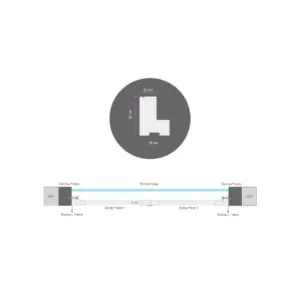
Recess Fit (L-Frame)
Also mounts inside, but sits further back. Ideal when you want the shutter to sit deep within the reveal.
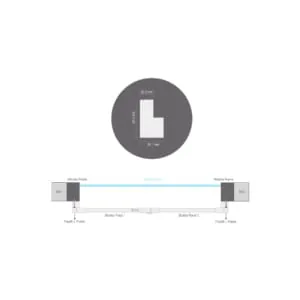
Face Fit (Outside)
Mounts onto the architrave or wall. Best for windows with obstructions (handles, winders) or no depth.
3 Check Squareness
Older homes often have windows that aren't perfectly square. It is crucial to check this before choosing your frame.
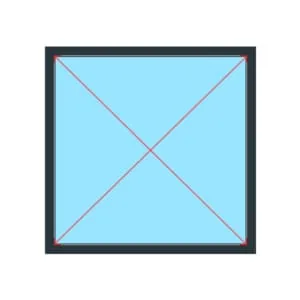
- Step 1: Measure the diagonals (Top-Left to Bottom-Right, Top-Right to Bottom-Left).
- Step 2: Compare the two measurements.
If the difference is > 6mm, you must use a Z-Frame (Recess Fit) or Face Fit to hide the gap. Standard L-Frames will show the gap.
4 The 3-Point Measure System
Option A: Measuring for Recess Fit (Inside)
- WIDTH: Measure Top, Middle, and Bottom. Record the SMALLEST measurement.
- DROP: Measure Left, Center, and Right. Record the SMALLEST measurement.
-
DEPTH:
Ensure you have at least 68mm clearance from the furthest protruding point (e.g., window handles/locks) to the front of the reveal.
If your depth is < 50mm, you may still be able to install Recess Fit by positioning a Mid-Rail to cover the protruding handle/winder.
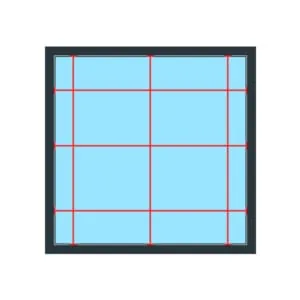 Front View (Width/Drop)
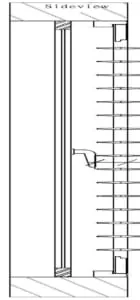 Side View (Depth)
Option B: Measuring for Face Fit (Outside)
- WIDTH: Measure Architrave to Architrave (outer edge). Record the LARGEST measurement.
- DROP: Measure Top of Architrave to Bottom. Record the LARGEST measurement.
-
Requirement: You need at least 25mm of flat mounting surface on your architrave.
Deep Architraves? If your architrave projection is > 70mm, request a Medium L-Frame (ML). Otherwise, use Standard L-Frame (SL).
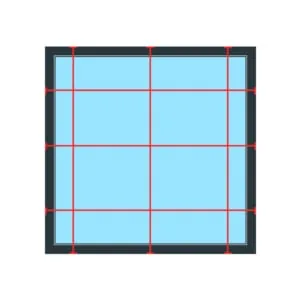
5 Layout: Mid-Rails, Posts & Frames
Mid-Rail Position
Mid-rails add strength and allow separate control of top/bottom blades.
PVC Panels > 1600mm height
Timber Panels > 1800mm height
Must include a mid-rail.
Measure from the bottom of the opening to the center of where you want the rail.
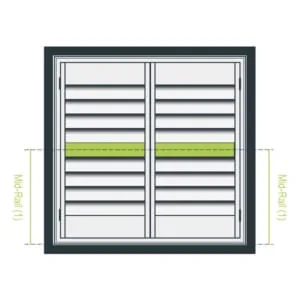
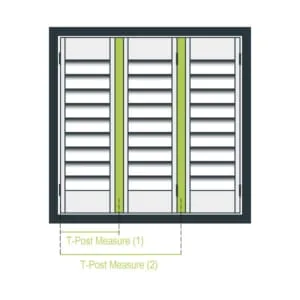
T-Posts (Vertical Dividers)
Required for wide openings to support multiple panels. Max single panel width is approx 900mm-950mm.
- Recess Fit: Measure from Inside Frame Edge to Center of T-Post.
- Face Fit: Measure from Outside Architrave Edge to Center of T-Post.
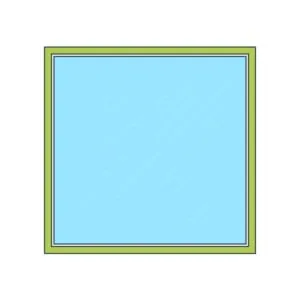
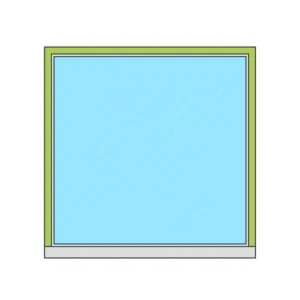
Frame Sides (3 vs 4)
Most windows use a standard 4-Sided Frame (Left, Right, Top, Bottom).
Choose a 3-Sided Frame (Left, Right, Top) if you have a protruding sill, doorway, or obstruction at the bottom.
6 Technical Specifications
| Material | Min/Max Width | Min/Max Height | Application |
|---|---|---|---|
| Timber (Paulownia) | 250mm - 950mm | 400mm - 2800mm | Interior Only |
| PVC (Water Resistant) | 250mm - 900mm | 400mm - 2500mm | Wet Areas |
Note: While we strive for perfection, a manufacturing tolerance of +/- 2mm applies to all custom shutters.
Ready to Transform Your Home?
You have the measurements. We have the factory.
Configure Your Shutters ➝